How to Get Rid of Bed Bugs

If you are trying to figure out how to get rid of bed bugs, the good news is that our DIY method can start for less than $25, but only if you do it the right way. Most failures happen because people rush the prep work, miss hiding spots, or skip the follow up treatment after eggs hatch, so the real fix is a careful plan that you repeat until the bugs are truly gone.
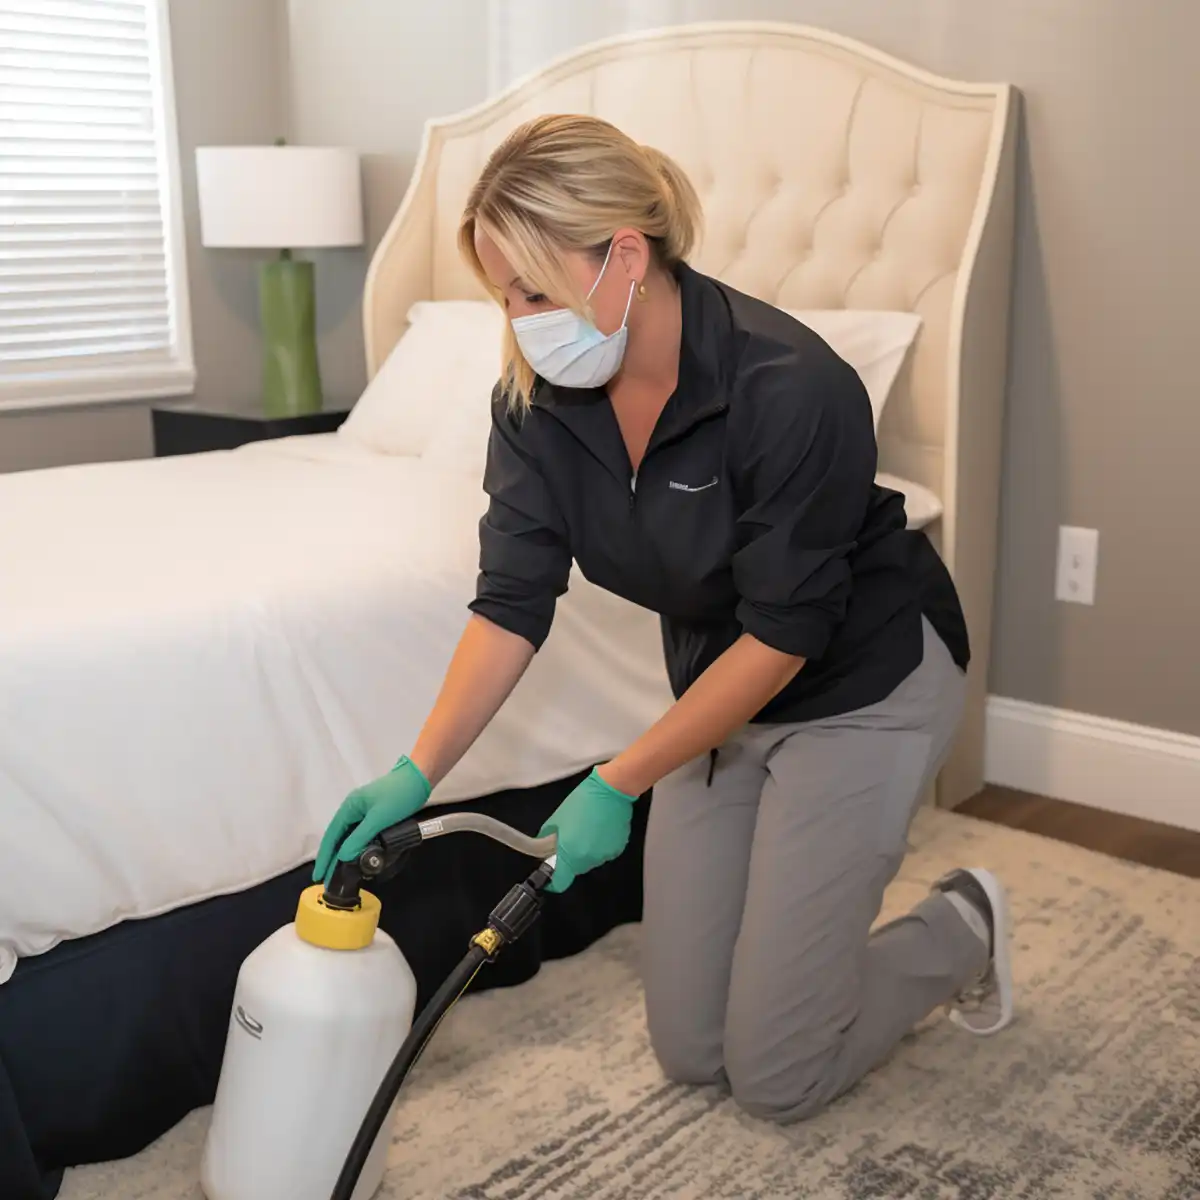
Woman eliminating bed bugs in an infested bedroom.

Woman eliminating bed bugs in an infested bedroom.

1. Prepare for Treatment

Preparation is the part most people try to rush, and it is one of the biggest reasons bed bug treatment fails. Whether you do this yourself or hire a professional, you still need to reduce clutter, bag items, wash and dry what can handle heat, vacuum carefully, and open up the places where bed bugs hide. The more thorough you are now, the easier it is to treat the room properly and tell whether the bugs are really gone.

Preparation is one of the five things many pest control companies don’t tell you about up-front.

Before you treat anything, work through this checklist from top to bottom.

Pre-Treatment Preparation Checklist

  • All mattresses and box springs should be stood upright against the wall so every side can be inspected and treated.
  • Take apart the bed frame, remove the headboard, and place those pieces against the wall.
  • Clear shelves and other flat surfaces so there are fewer hiding spots.
  • Remove clothing and place it in sealed plastic bags. Separate washable items from items that need dry cleaning before you move them.
  • Take non-washable clothing to the dry cleaner and let them know the items may have bed bugs. Ask them not to reuse the bags.
  • Empty all dresser and nightstand drawers, then remove the drawers so the joints and inside corners can be treated.
  • Put cleaned or treated items in fresh sealed bags and keep them in an area that does not need treatment.
  • Place sofas on their sides so the underside and frame can be reached.
  • Do not move furniture into another room unless you are certain it is free of bed bugs. That is one of the fastest ways to spread the infestation.
  • If you are comfortable doing it safely, remove electrical wall plates and unplug nearby items. If not, leave that step to a professional.
  • Remove items from closet floors and place them in sealed bags until they can be cleaned or treated.
  • Pick up loose items from the floor and move them about 12 inches away from the baseboards, including toys, basement items, and attic storage. Bag washable items first.
  • Remove paintings, mirrors, and other wall hangings so wall edges and cracks can be inspected.
  • Remove sheets, blankets, pillowcases, mattress covers, and similar bedding from every bed. Wash them, then dry them on high heat for at least 30 minutes if the fabric can handle it. Wash or dry clean pillows, then seal everything in fresh bags until treatment is finished.
  • If you use a laundromat, keep everything sealed until it goes into the washer or dryer so you do not spread bed bugs on the way.
  • Vacuum floors, baseboards, drapes, closets, shelves, and drawers carefully. When you finish, seal the vacuum contents in a bag and place it in an outdoor trash container right away.

2. Eliminate Bed Bugs

This is the step where you treat the hiding places, not just the places you can see. Bed bugs stay tucked into mattress seams, bed frames, screw holes, furniture joints, baseboards, and small wall cracks, so a quick spray around the room rarely solves the problem.

A low cost option many people use is bed bug dust. Desiccant dusts work by damaging the bug’s protective outer layer so it dries out over time, and bed bugs do not build resistance to them the way they can with some pesticides. An EPA-registered product labeled for bed bug control is the by-the-label choice; follow the label and keep applications light and limited to cracks and crevices. Plain food grade diatomaceous earth is safe when applied the same careful way, and it is what many of our readers used successfully. Never use pool grade diatomaceous earth, and do not spread any dust where people can easily breathe it in.

See our bed bug inspection checklist before you apply anything. This is where people miss the bugs. If you skip common hiding spots like baseboard gaps, outlet areas, screw heads, and the folds of furniture, you can think the treatment worked when the infestation is really just hiding nearby.

3. Repeat Treatment

This is where many people lose progress. A treatment can kill live bed bugs and still leave eggs behind, so if you stop after one round, the infestation can start right back up.

Check the room carefully every few days after treatment and pay attention to the same hiding spots you treated the first time. If you still see live bugs, fresh spotting, shed skins, or other signs of activity, assume the job is not finished yet. Follow the product label for retreatment timing, and remember that some products, especially drying agents, do not work instantly.

The people who succeed are usually the ones who stay patient and repeat the process thoroughly instead of assuming the first treatment solved everything. We have seen this pattern again and again in visitor stories. The first round knocks the infestation down, but the follow up is what usually finishes it.

4. Prevent Bed Bugs From Coming Back

Once the bed bugs are gone, the job shifts from treatment to prevention. Bed bugs are good at hitchhiking, so reintroduction often happens through luggage, secondhand furniture, shared laundry areas, or repeated exposure to the same source.

One of the simplest protections is a full mattress encasement that seals completely and stays in good shape. It will not solve an active infestation by itself, but it removes hiding spots and makes it easier to see new activity early. Check it now and then for tears, holes, or zipper gaps.

Interceptors are the other cheap insurance. These bed bug traps sit under the bed legs and catch climbing bugs before they reach the mattress, so a new problem shows up in a plastic dish instead of on your skin.

It also helps to keep clutter down, vacuum regularly, and stay cautious with anything that comes into the home from outside. Inspect used furniture before bringing it in, keep travel luggage off beds and floors when possible, and unpack washable items straight into the laundry after a trip. Our guide on how to prevent bed bugs covers the travel, secondhand, and apartment habits in detail.

If you think you know where the bed bugs came from, pay attention to that source. The fastest way to end up back at the beginning is to finish treatment at home and keep bringing the bugs back in.

Bed Bug Treatment Options and Costs

Bed bug treatment options range from a $15 fogger to $5,000 whole-home fumigation, with heat, steam, freezing, insecticide sprays, and monthly pest management in between. They are not all equal. If you are wondering about household products like Dawn, ammonia, or malathion, see our straight answers on what kills bed bugs (and what doesn’t). Some are professional services, some can support a careful DIY plan, and some are not a reliable standalone fix.

Professional only.

Fumigation is a specialty service, not a DIY option. It is usually considered for severe or hard to control situations and should be handled only by a licensed professional. If you are comparing it with a DIY plan such as bed bug dust, the tradeoff is usually cost, disruption, and the need to leave the space for a period of time.

The main thing to remember is that fumigation is not a shortcut around inspection, prep work, or follow up. If a company recommends it, ask what prep is required, how long you need to stay out, and how they confirm the infestation is actually gone afterward.

Professional only for rooms or whole home work. DIY friendly only for laundry and small washable items.

Heat can be very effective when the right temperature reaches the bugs and eggs wherever they are hiding. EPA guidance notes that infested items or areas generally need to reach at least 120 F for about 90 minutes to ensure eggs are killed, and higher temperatures can shorten the time needed.

For homeowners, the useful DIY version of heat is laundry and small item treatment. For rooms, wall voids, furniture, and heavy infestations, this is a professional job. EPA specifically warns against trying to heat a room with a thermostat, space heater, or fireplace because it is dangerous and does not work reliably.

DIY friendly for targeted work, not a reliable standalone choice.

If you are thinking about buying a bed bug steamer, remember that steam works best on surfaces you can reach directly, especially seams, folds, cracks, bed frames, baseboards, and upholstered furniture. EPA says steam should be at least 130 F and should not use forceful airflow, because strong airflow can scatter bed bugs deeper into hiding places.

The limitation is that steam only works where the heat actually reaches. That makes it useful as a supporting tool, but weak as a complete plan by itself. If you use steam, treat it as part of a larger process that still includes inspection, monitoring, repeat treatment when needed, and prevention.

Person sleeping inside a Bed bug Cryonite Treatment chamber.Professional only.

Cryonite is a specialty freezing treatment offered by some professionals. It is not a practical DIY option, and it should not be treated like a one visit miracle fix. If you are considering it, ask how it fits into the full treatment plan, what areas it can realistically reach, and what follow up will happen after the first visit.

For most homeowners, the real issue is not the name of the technology. It is whether the company is finding all the hiding places, treating thoroughly, and coming back if activity continues.

Best as a professional led strategy, not a single treatment.

IPM is not one spray, one dust, or one machine. EPA defines it as a combination of inspection, monitoring, prep work, non-chemical control, targeted pesticide use when needed, and follow up. That is why IPM usually gives you a better chance of success than relying on a single product.

If you hire a pest control company, this is the kind of approach you want to hear about. Ask whether they inspect carefully, use more than one control method, monitor after treatment, and schedule follow up if the activity continues.

Professional help before spending money.

A good inspection can save you money, especially if you are not yet sure you have bed bugs or you live in an apartment, condo, or other attached housing. Low level infestations are easy to miss, and some people end up needing a bed bug sniffing dog when a standard inspection misses the problem.

If there is any doubt, confirmation matters. It is better to identify the problem before spending money on products that may not fit the situation.

Not a reliable standalone choice.

Foggers look easy, but EPA says they should not be used as the sole source of bed bug control. The pesticide has to contact the bug, and foggers usually do not reach the cracks and crevices where bed bugs spend most of their time.

If someone uses a fogger at all, it needs to be labeled for bed bugs and used exactly as directed. Using more than the label allows can create fire or explosion risk. You also have to leave the room or building for the amount of time listed on the label.

For most people, this is not the method to build a treatment plan around. At best, it is a limited supporting tool, and at worst, it gives a false sense that the infestation was treated when the bugs are still hiding nearby. If you want a more targeted low cost option, compare it with bed bug dust before you buy.

Not a reliable standalone choice.

If you use a spray at all, it must be EPA registered and labeled for bed bugs, and it only kills what it touches. Many over-the-counter sprays do little to eggs, and some bed bug populations have built up resistance to the common ingredients, which is why a spray-only plan fails so often.

Used exactly by the label, a spray can support a careful plan around seams, frames, and baseboards. It does not replace prep work, dust in the cracks, or follow up treatment. If a product promises to end an infestation in one afternoon, treat that promise as your warning.

What Successful DIY Bed Bug Treatment Usually Has in Common

After reading years of visitor feedback, the same patterns show up again and again. The people who succeed usually prepare thoroughly, treat the actual hiding spots instead of only the open floor, repeat treatment after eggs hatch, and avoid spreading the infestation by moving to new sleeping areas too soon.

  • Do the prep work before treatment starts.
  • Focus on cracks, seams, joints, and other real hiding spots.
  • Repeat treatment instead of assuming one round solved it.
  • Do not spread the problem by moving infested items carelessly.
  • Stay consistent long enough to know whether the plan actually worked.

DIY Bed Bug Treatment Takes Patience

Getting rid of bed bugs takes patience more than anything else. If you prepare carefully, treat the real hiding spots, follow up after eggs hatch, and stay alert for reintroduction, you give yourself the best chance of ending the infestation without wasting more money or starting over. It is frustrating, but it is manageable when you work methodically and do not expect a one day fix.

If you are still trying to confirm what you are dealing with, See People Bitten or See the Bugs Up-Close!.

Reader stories: how they actually got rid of them

The four accounts below are condensed from the hundreds this page collected, chosen because each one ended in a bug-free home. The pattern in all of them: find the harborage, isolate the bed, use the dust, and keep at it for weeks, not days.

Mark and the slats

Mark and his wife spent months doubting it was bed bugs at all, since only she got bitten and every mattress inspection came up empty. The bugs were under the box spring slats. After the discovery came the full campaign: clutter out, everything through a hot dryer, encasements on, homemade interceptors under the bed feet, and food grade diatomaceous earth along the baseboards and across the doorway. One last bite a few nights later, one freshly fed bug caught, and then nothing. He wrote in three months clean, and his closing advice is the whole page in one line: it takes dedication, vigilance, and some expense, and you should not give up.

LALife’s methodical siege

When her building manager waved her bites off as spider bites, LALife pointed at the breakfast, lunch, and dinner pattern on her skin and kept pushing. An exterminator inspection found nothing, so she ran the campaign herself: bed apart, everything vacuumed and steamed, legs in greased containers, dust down, pillows through a hot dryer at the laundromat. The bites stopped, and her sign-off showed she understood the enemy: not naive enough to believe they are gone.

Heather, between two infested neighbors

Heather lived between an apartment that treated and one that lived with the bugs like roommates, and hers came through the bathroom pipes. She beat them with a schedule: treat, wait ten days, treat again, four rounds total, with registered products used by the label and diatomaceous earth as the permanent perimeter. She stayed clear for four years, and when an infested mattress in the hallway sent a new wave at her door, most of them died in the old dust line before reaching her. Her building manager asked what she did and adopted it.

Mike, who was sure he could never get them

A row of three bites on his foot, a friend’s warning, and a weird bug on the sheets ended Mike’s belief that clean condos are exempt. His four-month campaign was thorough to the point of sleeping cocooned in a tucked comforter surrounded by a dust moat. It worked, and he moved on carefully, but he offers one honest caution this site repeats: food grade diatomaceous earth is safe to use, and still should not be breathed in clouds. Apply it thin, close to the ground, and wear a mask when you dust.